3D Printing
The Campbell Commons Makerspace has two 3D printers for students to use:
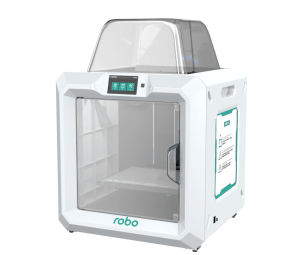
Robo E3 Pro
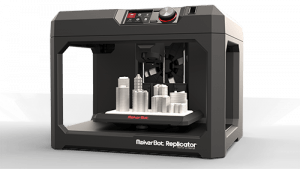
MakerBot Replicator (5th Gen)
How to Use Our 3D Printers
1) Get yourself a 3D model:
- Download a Model: You can find thousands of models online to download. Thingiverse.com models are free and easy to use with our printers. (You can also just use a search engine, but many models found online are not free.)
- Create a Model: You can also create a model from scratch using 3D modeling software. TinkerCAD is an online 3D modeling tool from AutoDesk (the makers of AutoCAD). AutoDesk also makes all of its professional CAD and 3D modeling software available to students and teachers for free.
- Remix a Model: Download models, then use the 3D modeling tools above to combine, edit, and modify them to suit your purposes.
Whichever process you use, look for a way to export/download your model as a .STL file. This file format is compatible with the slicing software for both our printers.
2) Create a 3D print job:
Before printing, your 3D model will need to be converted to a format the printer can understand. This process, called “slicing,” creates a set of instructions for the printer to follow: You specify how big the model should be printed, how it should be oriented on the build plate, and how the printer should handle solid areas (infill) and overhangs (supports). The software will then “slice” the job into layers that the printer will build. Different slicing software must be used for each printer:
Roboprint for E3
Students can use this software on the computer in the makerspace. Download your STL file to the computer, import it into Roboprint for E3, and send the print job directly to the printer.
You can also download Roboprint for E3 and install to a personal computer. After installing, import your STL file into Roboprint and save the print job as a gcode file. Copy this file to a flash drive and insert the flash drive into the printer to begin printing.
Makerbot Print Software
Students can use this software on the computer in the makerspace. Download your STL file to the computer, import it into Makerbot Print, and send the print job directly to the printer.
You can also download Makerbot Print and install to a personal computer. After installing, import your STL file into the software and save the print job as a .MAKERBOT file. Copy this file to a flash drive and insert the flash drive into the printer to begin printing.
3) Start printing:
First, make sure the printer is ready:
- The build plate is empty and seated properly
- The build plate surface is in good shape
- The filament you wish to use is loaded
- There are no error messages on the printer’s screen
If you are using the computer attached to the 3D printer, you can start the print job directly from the slicing software. Otherwise, you will need to save your print job onto a flash drive. (You can borrow one from the learning commons if needed.)
More Information
- Google Slides Overview
- How to Use Makerbot Cloud Print
- All3dp.com “All about 3D printing”